CustomTradingPlatform .com
Log in Get started free
Home / Technical Analysis / Candlestick patterns

Custom Trading Platform

Candlestick patterns

Every formation defined as an exact rule over open, high, low and close, then measured against real markets.

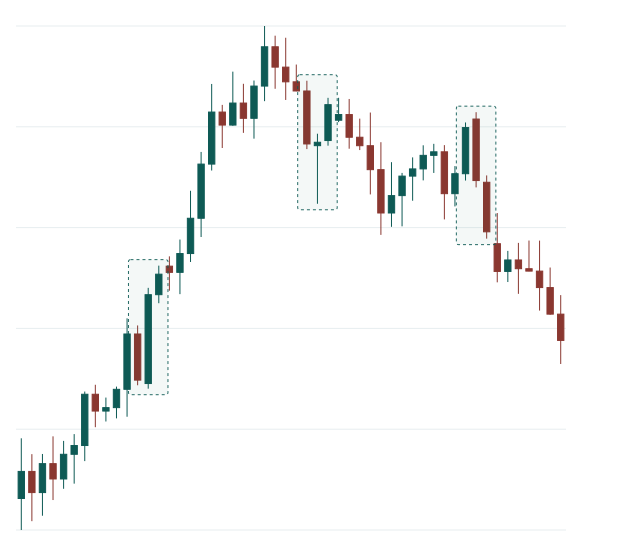
Composite price series with three highlighted candlestick formations

Search for your formation

89 of 89 patterns
Search patterns
89
patterns defined
1,172,151
bars scanned
505
instruments
75%
median discarded by trend context
75
counts below the sample floor

Most common is Spinning Top at 123.0 per 1,000 bars, about one bar in eight. Rarest is Concealing Baby Swallow at 0.00. A formation appearing on one bar in eight carries very little information, whatever it is called.

Engine 1c8996818877 · 2026-08-28T07:26:34Z · WV-Lab-Next mirror · drawings below are schematic, not engine output

Popular searches

Printable cheat sheet →
Hammer 4,300 / mo Single candle, long lower shadow. No edge at 40,912 occurrences.
Shooting Star 3,400 / mo The bearish mirror, and the one it is most often confused with.
Gravestone Doji 3,100 / mo Open and close at the low, and what actually followed.
Bullish Engulfing 2,500 / mo The best-known two-candle reversal, measured at 12,481 matches.
Dragonfly Doji 2,300 / mo Where it differs from a hammer, condition by condition.
Doji 1,700 / mo Indecision, and the five variants it gets read as.

Single-candle patterns

22 of 22

Read from a single session: where the body sits, and how far the wicks reach.

Hammer Small body at the top of the range with a long lower wick, after a decline.
Inverted Hammer Small body at the bottom with a long upper wick, after a decline.
Hanging Man The hammer shape, but appearing after a rise instead.
Shooting Star Small body at the bottom with a long upper wick, after a rise.
Doji Open and close within a hair of each other. Indecision by definition.
Dragonfly Doji A doji whose open and close sit at the top of the range.
Gravestone Doji A doji whose open and close sit at the bottom of the range.
Long-Legged Doji A doji with long wicks on both sides of the body.
Rickshaw Man A long-legged doji whose body sits near the middle of the range.
Spinning Top Small body, wicks both sides. The most common formation in the set.
High Wave Small body with wicks so long the session says almost nothing.
Takuri Line A hammer with an unusually long lower wick.
Bullish Marubozu A full body with no wicks. Opens at the low, closes at the high.
Bearish Marubozu A full body with no wicks. Opens at the high, closes at the low.
Bullish Closing Marubozu Closes at the high, with a wick permitted at the open.
Bearish Closing Marubozu Closes at the low, with a wick permitted at the open.
Bullish Belt Hold Opens at the low and closes near the high, after a decline.
Bearish Belt Hold Opens at the high and closes near the low, after a rise.
Bullish Long Line A long green body, judged against the recent average range.
Bearish Long Line A long red body, judged against the recent average range.
Bullish Short Line A short green body, well below the recent average range.
Bearish Short Line A short red body, well below the recent average range.

Two-candle patterns

26 of 26

The relationship between two consecutive bodies: engulfing, containment, or a gap.

Bullish Engulfing A green body that completely covers the previous red body.
Bearish Engulfing A red body that completely covers the previous green body.
Bullish Harami A small green body contained inside the previous large red body.
Bearish Harami A small red body contained inside the previous large green body.
Bullish Harami Cross A harami whose second candle is a doji.
Bearish Harami Cross A harami whose second candle is a doji.
Dark Cloud Cover Opens above the prior high, then closes below the prior midpoint.
Piercing Line Opens below the prior low, then closes above the prior midpoint.
Bullish Doji Star A doji gapping below a long red body.
Bearish Doji Star A doji gapping above a long green body.
Bullish Kicker A gap up with no overlap at all between the two bodies.
Bearish Kicker A gap down with no overlap at all between the two bodies.
Bullish Separating Lines A green candle opening at the prior red open, in an uptrend.
Bearish Separating Lines A red candle opening at the prior green open, in a downtrend.
Bullish Counterattack Gaps down, then closes back at the previous close.
Bearish Counterattack Gaps up, then closes back at the previous close.
In-Neck A red body followed by a green close barely into it.
On-Neck A green close that reaches only the previous low.
Thrusting A green close inside the prior body but below its midpoint.
Matching High Two candles closing at the same high after a rise.
Matching Low Two candles closing at the same low after a decline.
Tweezer Top Two adjacent candles sharing the same high.
Tweezer Bottom Two adjacent candles sharing the same low.
Homing Pigeon A small red body contained inside a larger red body.
Inside Bar A bar whose entire range sits inside the previous range.
Outside Bar A bar whose range covers the whole of the previous range.

Three-candle patterns

28 of 28

A setup, a turn and a confirmation, measured as one rule.

Morning Star Long red, a small gapped body, then a long green close.
Evening Star Long green, a small gapped body, then a long red close.
Morning Doji Star A morning star whose middle candle is a doji.
Evening Doji Star An evening star whose middle candle is a doji.
Bullish Abandoned Baby A morning doji star with gaps on both sides of the doji.
Bearish Abandoned Baby An evening doji star with gaps on both sides of the doji.
Three White Soldiers Three long green bodies, each closing above the last.
Three Black Crows Three long red bodies, each closing below the last.
Identical Three Crows Three red bodies, each opening at the previous close.
Two Crows A gap up, then two red bodies filling it back in.
Upside Gap Two Crows Two crows where the second engulfs the first.
Three Inside Up A bullish harami confirmed by a third green close.
Three Inside Down A bearish harami confirmed by a third red close.
Three Outside Up A bullish engulfing confirmed by a third green close.
Three Outside Down A bearish engulfing confirmed by a third red close.
Bullish Tri-Star Three consecutive dojis at the bottom of a decline.
Bearish Tri-Star Three consecutive dojis at the top of a rise.
Advance Block Three green bodies, each smaller than the last.
Stalled Pattern Two long green bodies, then a small one gapping up.
Three Stars in the South Three shrinking red bodies with the range narrowing.
Unique Three River A long red body, a harami with a new low, then a small green.
Stick Sandwich Two red closes at the same price with a green candle between.
Upside Tasuki Gap A gap up, then a red candle that fails to close it.
Downside Tasuki Gap A gap down, then a green candle that fails to close it.
Upside Gap Three Methods Two green candles with a gap, then a red candle filling it.
Downside Gap Three Methods Two red candles with a gap, then a green candle filling it.
Upside Gap Side-by-Side White Lines A gap up followed by two green bodies of similar size.
Downside Gap Side-by-Side White Lines A gap down followed by two green bodies of similar size.

Four-candle patterns

5 of 5

Longer sequences, and the false breaks inside them.

Five-candle patterns

8 of 8

Continuation structures: a long body, a pause, then a resumption.

Test a formation against your own account, not a textbook.